Dry Brine Turkey: Get Ahead for a Flavorful, Crispy Thanksgiving
Thanksgiving dinner, with its promise of warmth, family, and delicious food, often hinges on the star of the show: the turkey. Yet, for many home cooks, preparing a turkey that's both succulent and beautifully browned with crispy skin can feel like an insurmountable challenge. The dread of dry, flavorless meat or soggy skin is real. But what if there was a simple, mess-free method to guarantee a show-stopping bird every single year? Enter the dry brine. Learning
how to dry brine a turkey is arguably the most impactful step you can take to elevate your holiday feast from good to absolutely unforgettable.
Forget the giant buckets of salty water and the inevitable spills associated with traditional wet brines. Dry brining offers a revolutionary approach, allowing you to infuse flavor deep into the meat while simultaneously preparing the skin for that coveted golden crispness. It’s a method that promises a more flavorful, tender, and juicy turkey, all while simplifying your Thanksgiving Day preparations.
Why Choose Dry Brine for Your Thanksgiving Turkey?
You've likely heard of – or even attempted – a wet brine, which involves submerging your turkey in a large pot of seasoned liquid for hours. While effective, wet brining can be cumbersome, requiring significant fridge space and often resulting in a turkey that, despite being moist, can sometimes taste waterlogged, and its skin struggles to crisp up due to the absorbed moisture. Dry brining, on the other hand, is a game-changer. It’s a fuss-free, efficient technique that delivers superior results without the mess.
The magic of dry brining lies in its simplicity and the scientific process it initiates. A dry brine is essentially a seasoned salt rub applied directly to the turkey. Here's exactly why you'll be glad you used this method:
- The Science of Flavor & Tenderness: When salt is applied to the turkey, it initially draws moisture from the meat through osmosis. This moisture then mixes with the salt and any other seasonings in your dry brine mixture, creating a concentrated, flavorful liquid on the surface. Over time, the turkey meat reabsorbs this now-seasoned liquid, distributing flavor and tenderness from the outside in. This "self-brining" process ensures that every bite is seasoned perfectly, deeply infusing the meat in a way that mere surface seasoning before roasting simply cannot achieve.
- Unrivaled Crispy Skin: As the turkey rests uncovered in the refrigerator during the brining period, the circulating cool air dries out the skin. This isn't just about surface dryness; it means the moisture beneath the skin evaporates, allowing the skin to crisp up beautifully and brown evenly during roasting, creating that irresistible crackling texture we all crave.
- Less Mess, More Convenience: There's no unwieldy pot of liquid to deal with, no spills, and no struggling to find fridge space for a massive container. All you need is a baking sheet or roasting pan. This makes the preparation incredibly easy and means you can get ahead of your Thanksgiving cooking schedule, reducing stress on the big day. As we discussed in Forget Wet Brines: Dry Brine Turkey for Mess-Free Perfection, the simplicity is a huge draw!
- Potentially Faster Roasting Time: Many experienced cooks report that dry-brined turkeys tend to roast more quickly than un-brined or even wet-brined birds, often shaving 15-20 minutes off the cooking time. This is a welcome bonus when you're juggling multiple dishes!
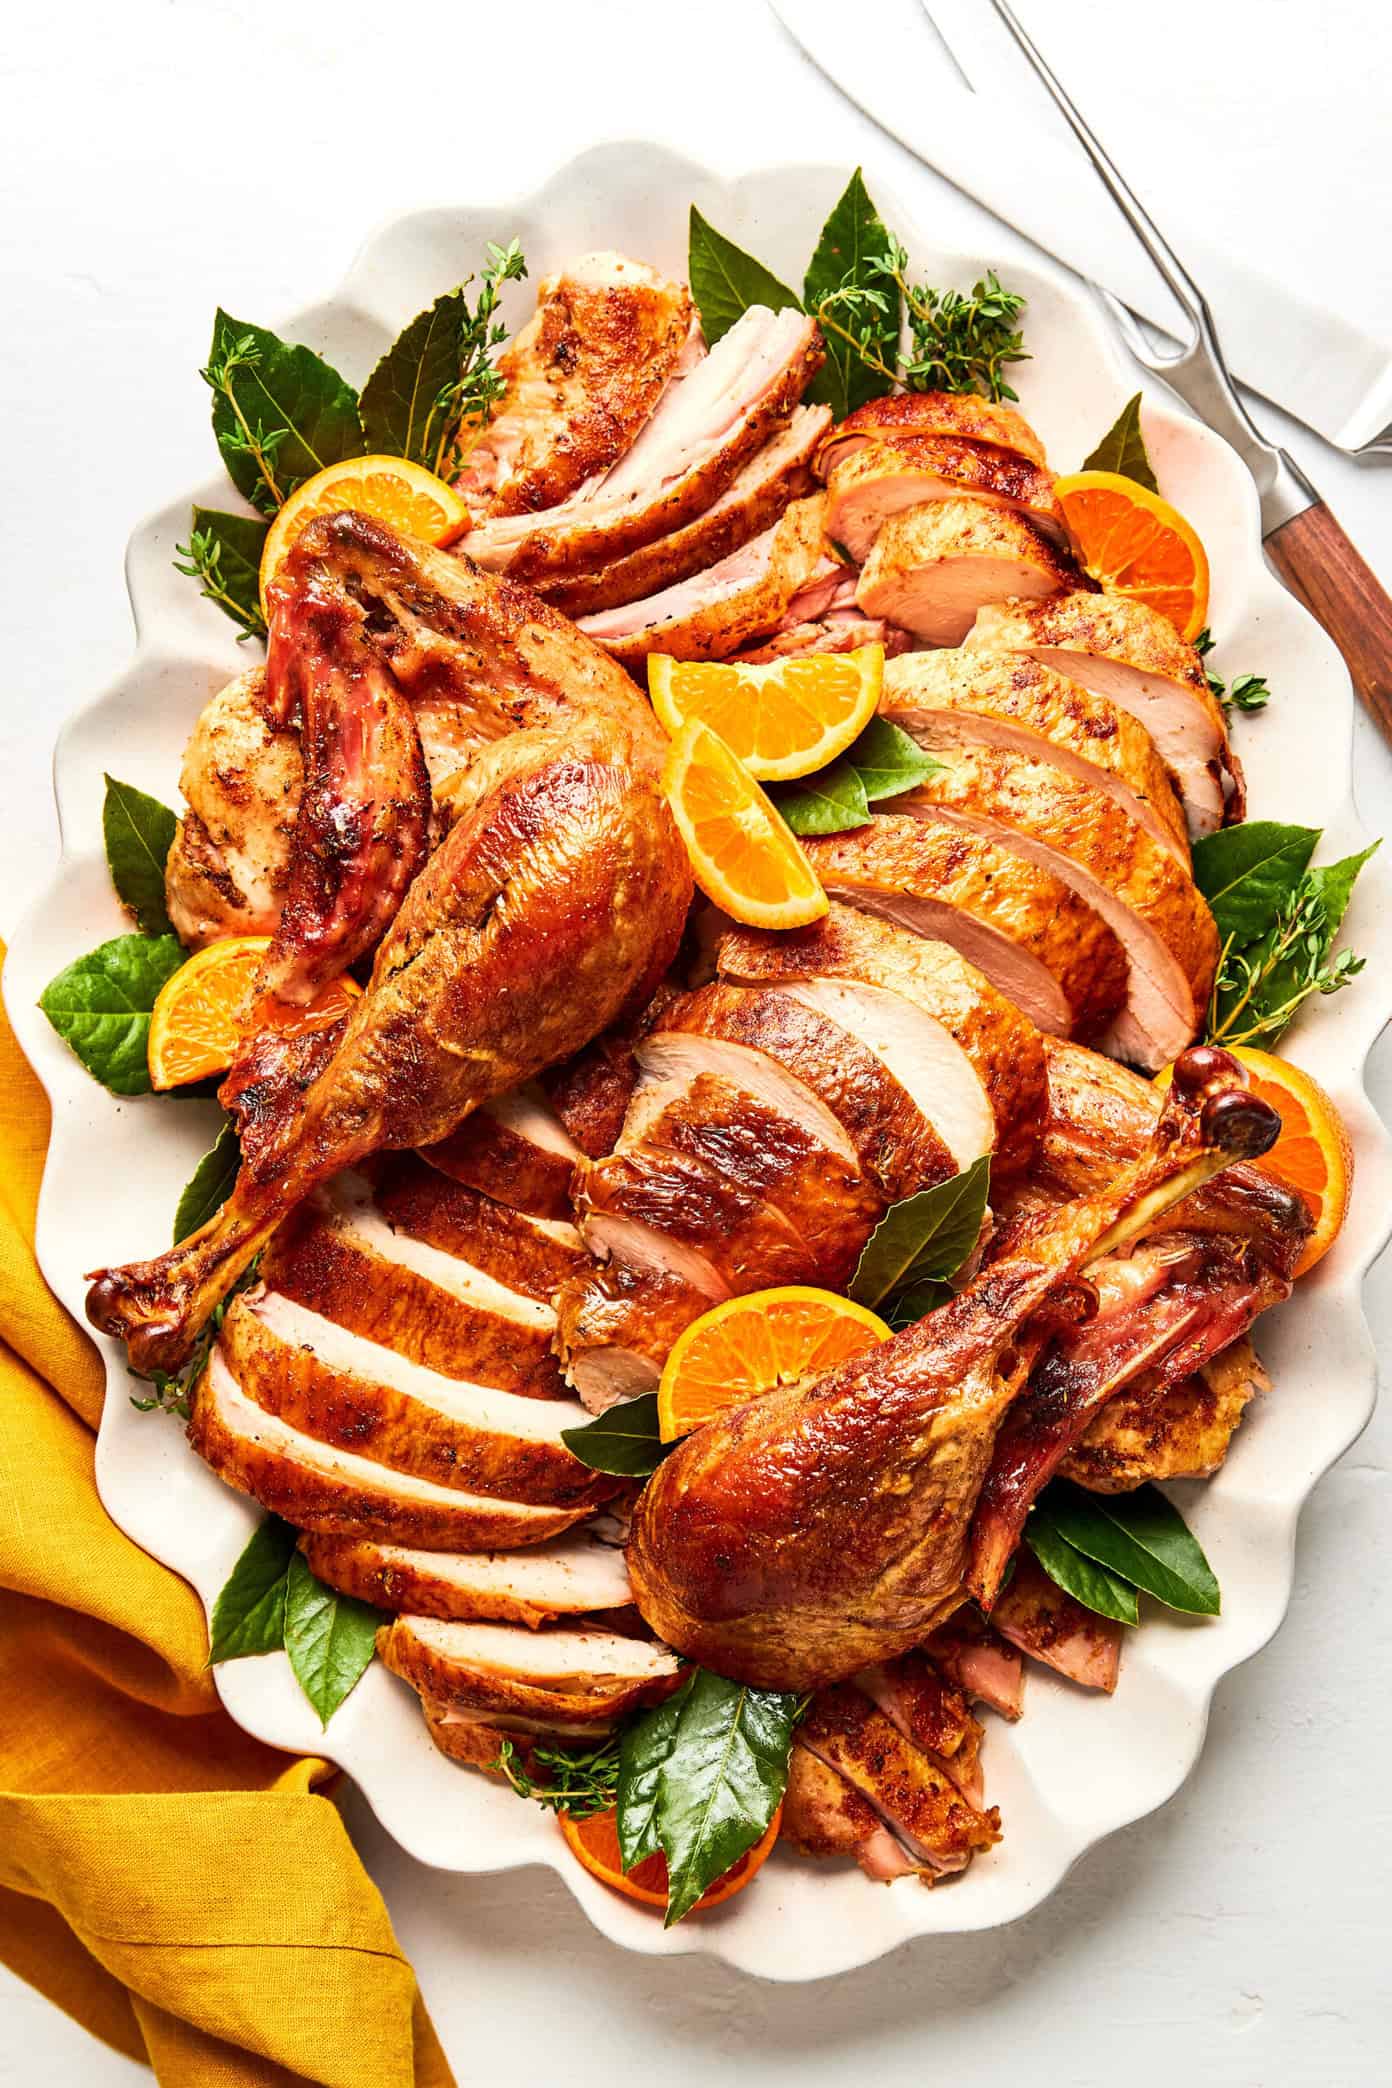
All in all, you get a roasted turkey that’s crispy and flavorful on the outside, and incredibly juicy and tender on the inside – sounds a lot like the perfect turkey to have on your Thanksgiving menu.
How to Dry Brine a Turkey: Your Step-by-Step Guide
Mastering
how to dry brine a turkey is straightforward, requiring minimal ingredients and effort, but delivering maximum impact.
Gathering Your Dry Brine Ingredients
The foundation of any good dry brine is salt, specifically
Kosher salt. Its larger crystal size makes it easier to handle and apply evenly compared to finer table salt. Beyond salt, you can customize your brine with a variety of aromatics and spices:
- Kosher Salt: Approximately 1 tablespoon per 4-5 pounds of turkey. You want good coverage, but not a thick crust.
- Fresh Herbs: Rosemary, thyme, and sage are classic choices. Finely chop them to release their essential oils.
- Garlic & Onion Powder: These provide a deeper, more savory base flavor without adding moisture.
- Black Pepper: Freshly ground black pepper adds a pleasant kick.
- Optional Flavor Boosters: A pinch of smoked paprika for color and subtle smoky notes, citrus zest (orange or lemon) for brightness, or even a tiny amount of sugar (be cautious, as sugar can promote excessive browning if overused).
Preparing Your Turkey
The first critical step in learning
how to dry brine a turkey is ensuring your turkey is ready for its rub.
- Thaw Completely: Make sure your turkey is fully thawed. A partially frozen turkey will not absorb the brine effectively.
- Remove Giblets & Neck: Reach into both cavities of the turkey and remove the giblets and neck. Save them for gravy!
- Pat Thoroughly Dry: This is perhaps the *most crucial* step. Using paper towels, thoroughly pat the entire surface of the turkey dry – inside, outside, and under the wings. Eliminate as much surface moisture as possible. A dry surface allows the salt to adhere better and immediately starts the process of drying out the skin for crispiness.
Applying the Dry Brine Mixture
Once your turkey is prepped, it's time for the rub.
- Mix the Brine: In a small bowl, combine your Kosher salt, herbs, garlic powder, black pepper, and any other desired spices.
- Rub It In: Don gloves for hygiene and easy application. Generously rub the mixture all over the turkey. Be sure to get it everywhere: on the breast, legs, wings, inside the cavity, and crucially, gently lift the skin over the breast and rub some of the mixture directly onto the meat. This ensures maximum flavor penetration. Distribute the salt as evenly as possible.
The Refrigeration Period
This is where the magic truly happens.
- Placement: Place the seasoned turkey on a wire rack set over a baking sheet or roasting pan. The wire rack is vital as it allows air to circulate around the entire bird and prevents it from sitting in any extracted juices.
- Refrigerate Uncovered: This is non-negotiable! Place the turkey, uncovered, into your refrigerator. The circulating cold air is essential for drying out the skin.
- Duration: How long should you dry brine a turkey? Aim for at least 24 hours, but ideally 36 to 48 hours for optimal results. A minimum of 8-12 hours will still yield good flavor and some skin drying, but the longer duration allows for deeper flavor penetration and a more intensely crispy skin.
Pre-Roasting Prep: To Rinse or Not to Rinse?
This is a common question.
- Rinsing is Recommended (Often): If you've brined for 24-48 hours, it's generally a good idea to rinse the turkey under cool water to remove any excess salt from the surface. This prevents the exterior from becoming too salty during roasting. This is one of the only times you should ever wash a turkey!
- Pat Dry Again (CRITICAL!): After rinsing, you *must* pat the turkey incredibly dry with paper towels. This step is as important as the initial pat-down for achieving that desired crispy skin.
- Final Seasoning: After rinsing and patting dry, you can apply a fresh layer of black pepper, or rub the turkey with a garlic-herb compound butter or olive oil for extra flavor and browning before roasting.
Advanced Tips for a Perfect Dry-Brined Turkey
Beyond the basic steps of
how to dry brine a turkey, here are some insights to take your bird to the next level:
- Understand Your Salt: Kosher salt varies by brand (e.g., Morton's is saltier by volume than Diamond Crystal). If you're new to dry brining, err on the side of slightly less salt and increase it next time if desired. Visual coverage is key – you want a thin, even layer, not a thick crust.
- Flavor Exploration: Don't limit yourself to traditional herbs. Experiment with ground coriander, fennel seeds, or even a touch of finely grated horseradish in your brine for unique flavor profiles.
- Compound Butter Magic: Create a compound butter by mixing softened unsalted butter with chopped herbs, minced garlic, and black pepper. Gently separate the turkey skin from the breast meat and rub some of this butter directly onto the meat before roasting. This adds incredible moisture and flavor.
- The Importance of Resting: After roasting, let your turkey rest for at least 20-30 minutes (or even up to an hour for larger birds) before carving. This allows the juices to redistribute throughout the meat, ensuring every slice is as juicy as possible.
- Temperature is Key: Always use a reliable meat thermometer to ensure your turkey is cooked to a safe internal temperature of 165°F (74°C) in the thickest part of the thigh, without touching the bone.
Dispelling Common Dry Brining Myths
Despite its growing popularity, a few misconceptions about dry brining persist:
- Myth 1: It makes the turkey too salty. This is preventable! By rinsing the turkey after brining (especially for longer brines) and by being mindful of your salt application, you can control the final saltiness. The goal is perfectly seasoned, not overwhelmingly salty.
- Myth 2: It's complicated or takes too much time. Compared to the effort and space required for a wet brine, dry brining is incredibly simple and hands-off once the initial rub is applied. The "time" is mostly passive refrigeration.
- Myth 3: It only works for certain types of turkeys. Dry brining is effective for virtually any whole turkey, whether it's a conventional, organic, or heritage bird.
Conclusion
This Thanksgiving, transform your turkey from a culinary challenge into a triumph. By understanding
how to dry brine a turkey, you're not just preparing a meal; you're creating a centerpiece that will be remembered for its exceptional flavor, tender meat, and glorious, crispy skin. It’s a simple, foolproof method that ensures a juicy, flavorful bird while drastically reducing your stress on the big day. Make this your year for the ultimate Thanksgiving centerpiece! For more detailed guidance on mastering this technique, be sure to check out
Dry Brine Turkey: Your Guide to Juicier Meat & Crispier Skin.